I have been experiencing shoulder pain since the fall. I was referred to a physical therapist and have been undergoing treatment for an injury to my rotator cuff...due to all the painting we did over the summer/fall months. So, that has added one more thing to my weekly plate, along with weekend sporting events for two of the children.
This blog is my "hobby," of sorts, and I'll try to navigate better what role it can play during my week.
Without bogging you down with too much detail, I want to show you the before & after shots of our family room.
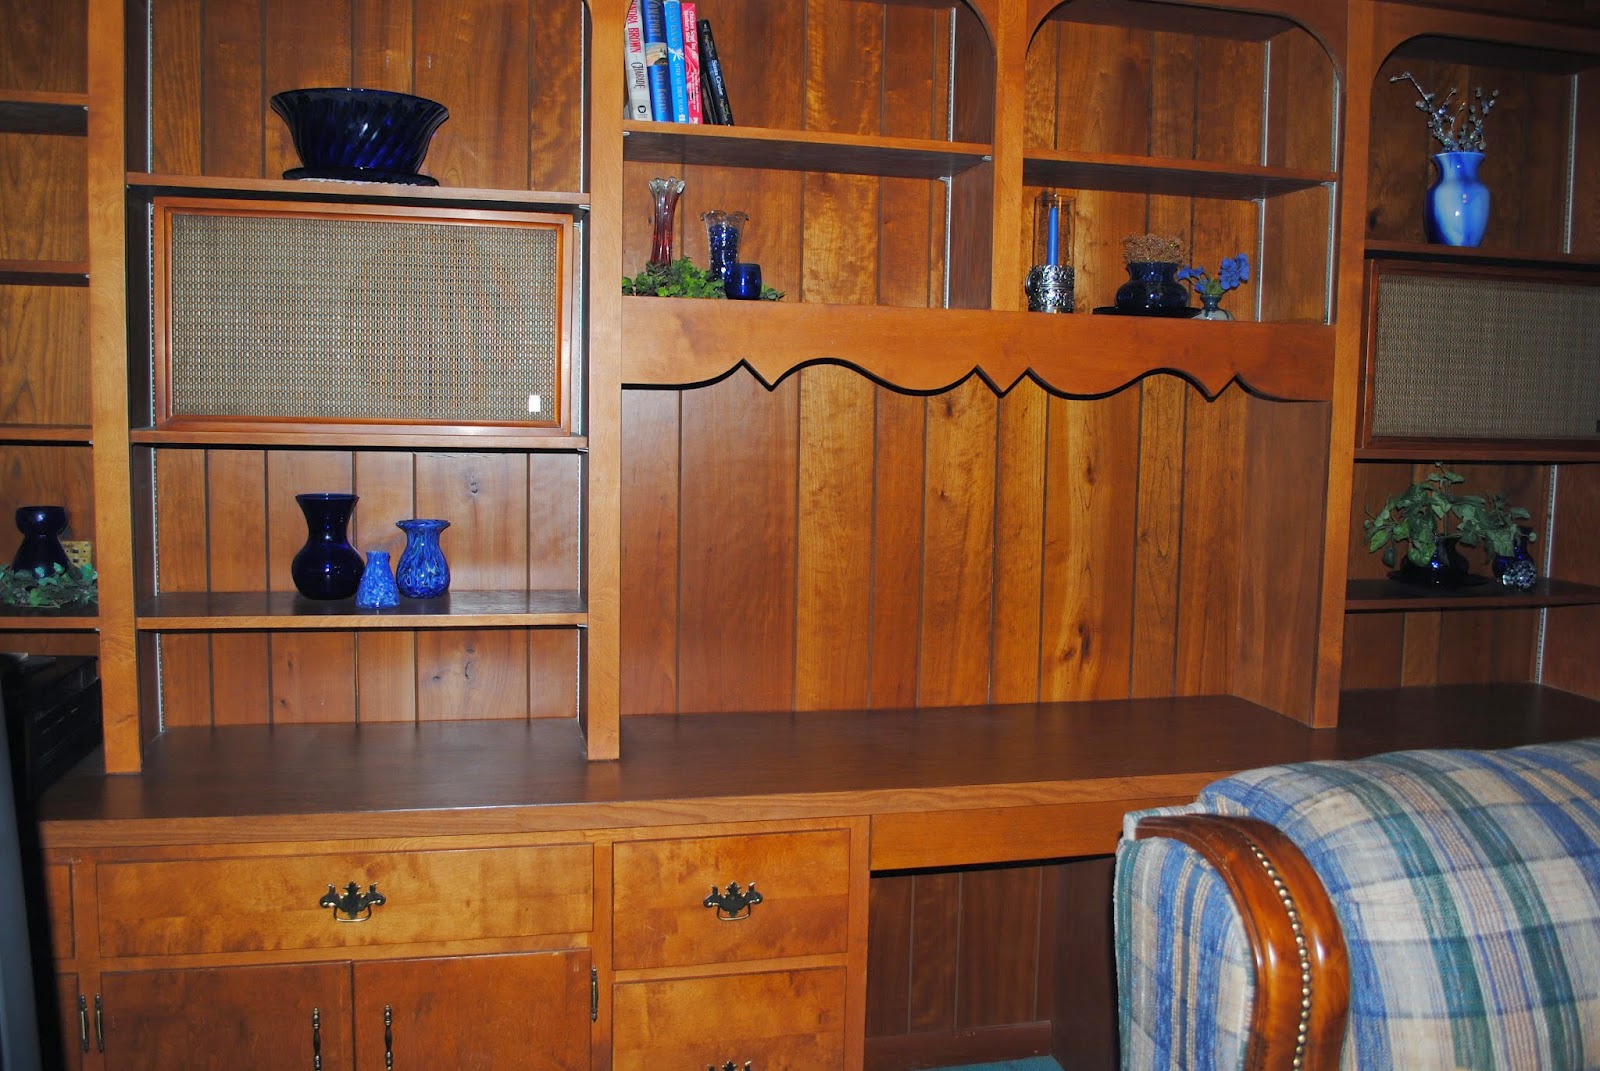
I didn't take as many before shots, as I now wish I had. The room was very dark with paneling, a dark stained built-in book case, and old turquoise carpeting. We saw so much potential though, in this 17x18 space.

The previous owner used the built-in as a desk space. I saw the potential to make it into an area for our TV, as well as books, video storage, etc.
This room was my project. Dave was busy working on the kitchen, and tackling more structural projects, so I took on this room.

The paneling had to be prepped before painting. At Sherwin Williams they recommended a product called Krud Kutter. It's a liquid that you wipe down the walls. It cleans the surface and removes the shine to prep it for paint. This was much easier than sanding the surface of the paneling. It saved me from cleaning up a dusty mess. It took me about a day to de-gloss the paneling &
the built-ins. Once that was done I was able to prime the whole thing. I must mention that I had help from friends with this stage, and it saved my sanity. With the built-in and the beams, there was so much detail to cut around.

The finished product - you'll notice that where the TV sits, the wood had a scalloped edge around it that just dated the appearance of the shelves. Dave cut those scallops off, and rounded it to look like the other shelves. I am so happy with the results. The paint color is Sherwin Williams - Lazy Gray.

On the built-in I used an interior oil based white paint. It was more time-consuming, as each coat takes 24 hours to dry. But, the result is a more durable finish that will be less likely to scratch. I still have handles to put on the cabinet doors. However, as I mentioned before, there are still projects that need some finishing touches.

We (I say "we," but I mean Dave and other guys), ripped out the old carpeting, and had new carpeting installed. You'll also notice that I left the beams in their original state, and I think the results nicely compliment the lighter colors that this room now holds.

The handles I chose for the drawers - I ordered these in a ten pack from Overstock.com. I had priced other options for buying handles individually, but I could not compete with the price at Overstock. I'm so happy with the quality of them, and other than some issues with the screws being a tad long, Dave said they were not difficult to install.
So, there you have it. I hope you enjoyed the step by step. :)
No comments:
Post a Comment